Total Independence: How to Build Your Own Local Coding Agent (Free & Private)
Total Independence: How to Build Your Own Local Coding Agent (Free & Private)
Welcome back to CodeWithBotina. We all love the convenience of cloud-based tools like GitHub Copilot or ChatGPT, but sometimes you need something different. Maybe you're working on a university project with strict privacy rules, or you simply want to code offline without relying on a monthly subscription.
Today, I'm going to show you how to set up your own local coding agent. 100% free. 100% private. All your code stays on your machine.
But before we start, let's get a reality check.
🚨 Reality Check: What you must know before installing
- It won't have ChatGPT's Speed: OpenAI or Google models run on server farms that cost millions of dollars. Your local agent will run on your computer's resources. If you don't have a powerful graphics card (GPU), the AI will generate code word by word, slowly. It is the price of privacy and being free.
- The Risk of Hallucinations: Smaller, lightweight models tend to invent functions that don't exist or use outdated libraries. Never blindly copy and paste.
- Execution Danger: If you ask a local agent to write and run a Bash script to "clean temporary files," and the model makes a mistake, it could wipe your project. Be the final judge of every single line of code.
⚙️ Minimum Requirements & Which Model to Choose
The model (the AI's "brain") you can run will depend entirely on your RAM and your video card.
- Entry Level (8GB RAM / No dedicated GPU): You are limited to very small models. They won't solve complex architectures, but they are decent for autocomplete.
- Recommended models:
qwen2.5-coder:1.5bordeepseek-coder:1.3b.
- Recommended models:
- Mid-Range (16GB RAM / Mid-tier GPU like RTX 3060): The sweet spot. Models here are quite competent at refactoring and explaining code.
- Recommended models:
llama3:8borcodegemma:7b.
- Recommended models:
- Beast Mode (32GB+ RAM / 12GB+ VRAM GPU): Here you can run heavy models that rival basic commercial AIs.
- Recommended models:
deepseek-coder-v2orphind-codellama:34b.
- Recommended models:
🛠️ Step-by-Step: Your Local Setup in 5 Minutes
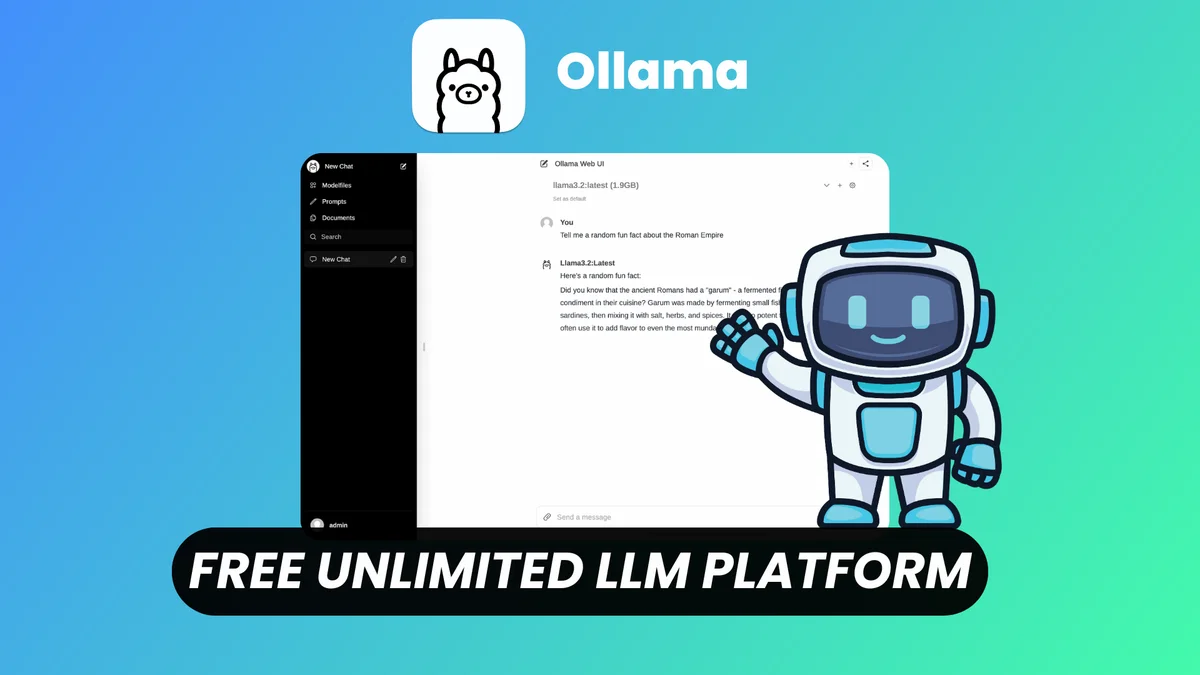
The current standard for doing this without overcomplicating your life is the combination of Ollama (to run the AI) and Continue.dev (to integrate it into your editor).
- Install Ollama: Go to ollama.com and download the installer. It’s a lightweight program that runs in the background.
- Download Your Model: Open your terminal and type the command to download the model you chose based on your resources. For example:
ollama run codegemma:7b(It will take a while the first time because it has to download several gigabytes). - Install the VS Code Extension: Open Visual Studio Code, go to extensions, and search for Continue. It’s an open-source Copilot clone.
- Connect Both Worlds: Open the Continue settings (the
config.jsonfile it will show you in the sidebar) and make sure to set the provider to"ollama"and type the exact name of the model you downloaded.
And that's it! You have a sidebar chat in your editor and code autocompletion powered entirely by your own machine.
Testing these tools is fundamental for any developer who wants to understand where the future of software is heading. Install it, make the AI sweat a bit refactoring your projects, and let me know how the performance was for you in the comments.
Your code, your rules, your machine. Only at CodeWithBotina.
Loading reactions...
Comments (0)
Loading session...
No comments yet. Be the first to comment.